Learn how to add Webmentions to your Gridsome powered static site.
We ❤️Gridsome the static site generator for Vue.js. Gridsome is a great tool for creating personal blogs, and when you are creating a blog it's nice to allow people to interact with your posts. It's rewarding to see people commenting and liking your hard work.
It's not immediately obvious how you can achieve this with a static site. Everything is static so how can I allow dynamic interactions like commenting and liking? You could add a plugin like Disqus, but then you would be dumping a load of third party JavaScript onto your lean mean blogging machine. Why eat into that precious static site performance when there is another option? 😀
🚨 Webmentions to the rescue
Luckily for us, the W3C has got us covered with their draft of the Webmention spec. In case you haven't heard of Webmentions before here is a quick summary:
Webmention is a web standard for mentions and conversations across the web, a powerful building block that is used for a growing federated network of comments, likes, reposts, and other rich interactions across the decentralized social web. - https://indieweb.org/Webmention
You can think of Webmentions as a tool to record interactions with your content across multiple platforms. If someone mentions your post on Twitter, responds to it in their own blog post, or likes something you posted on Instagram, all of these things and more can be recorded as Webmentions and displayed on your site.
Sounds cool right? Let's start by seeing how we can pull Twitter mentions into a Gridsome site.
Setting up Webmentions
Before you can start with Webmentions you need to add a link tag to the head of your site that links your site to your other social accounts. We are going to connect our Twitter. To do this in Gridsome you will need to add some code to the src/main.js file:
Remember to replace our Twitter profile with your own 🤪This will produce the following link in the head of your site once it's rendered:
Webmentions.io
Next, we need login to https://webmention.io/ webmention.io is a free service that allows us to easily use Webmentions on our static sites. It's worth pointing out that you could host a service like webmention.io yourself if you wanted full control, but for the purpose of this tutorial, it's much quicker to use their offering.
Go to their homepage and enter your site's URL in the "Web Sign-In" field. If your site has deployed correctly with the Twitter link in your head you should be redirected to Twitter to sign in.
After signing in successfully you will be redirected back to a (probably) empty Webmentions dashboard.
Adding the Webmention and pingback links
We now need to add some more header links our site. Luckily we have had some practice at this already. From the webmentions dashboard go to the "Settings" page.
There you will find a few bits of information, but for the time being, we are interested in the link tags.
Open up src/main.js again and add the following, swapping out the hrefs for your own links.
Once you have done this deploy your site again and once it is done it will be ready to receive Webmentions 🎉
Receiving Webmentions from Twitter
Now that we have done the initial Webmentions setup we are ready to configure receiving Webmentions from Twitter. For this, we can use another free service call brid.gy
Like webmentions.io, you could host your own version of brid.gy if you really wanted to.
After configuring brid.gy anytime someone interacts we a tweet containing your site's domain name, it will send a Webmention.
Before you can connect brid.gy you need to make sure you have your site's domain listed in your Twitter profile. Like below where I have my personal site in my bio:
After doing that, you are ready to log in with brid.gy. From their homepage click "Twitter" and log in using your Twitter account.
That's it, Twitter will now produce Webmentions for your site.
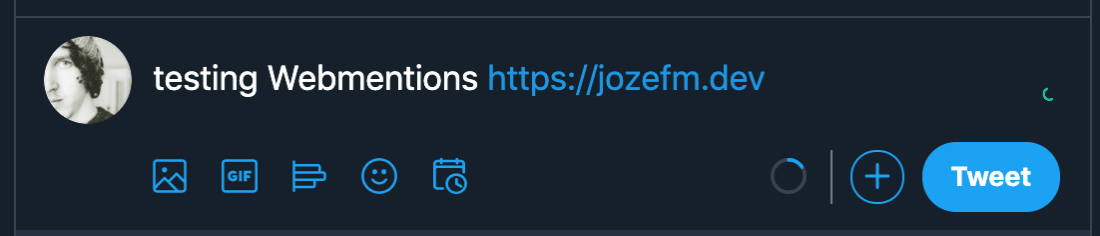
At this point, I usually like to create a test tweet so we can check everything is working. Compose a tweet containing a link to a page on your site. Like it an retweet it with a comment. You will look a bit silly talking to yourself but it will produce a Webmention we can test with later. You can delete the tweet once you are done testing.
Once you have done that, click the "poll now" button in the brid.gy dashboard and you should see your tweet appear in the responses list.
Load Webmentions in Gridsome
Ok, so we have done most of the initial setup and its not time to load them as a source in Gridsome. The easiest way to do this is to use the Webmention source plugin I created:
If you restart your Gridsome dev server your Webmentions will now be available using the GraphQL API 🚀
Below is an example of how you can load Webmentions for a specific page in our Gridsome site. We can filter the Webmentions by using our pages path.
Now that you can get the Webmention data in your page you can create a Vue component to render them easily. Heres an example of what the Webmention section on https://pixelhop.io looks like:
Trigger Builds With Webhooks
We are nearly there I promise! The final step in our Webmention journey is to get new Webmentions to appear automatically on your site. Currently, new Webmentions will only appear when you manually rebuild and deploy your site.
That's a bit rubbish, but luckily we can trigger a new build automatically using webhooks. We use Netlify for our sites, but must modern static site hosts allow you to trigger builds via a webhook. Here's how you do it in Netlify.
From the Netlify dashboard find your site, then go to Settings > Build & Deploy and scroll down the to "Build hooks" section.
Click add build hook, and call it "webmentions":
Copy the URL that is generated after clicking save.
Paste in the URL from Netlify into the URL field and click save. That's it now a build will be triggered when you have new mentions and they will automatically show up on your site.
And......relax 🧘♀️
Well, we did it! Hopefully, if you made it this far your site is swimming in lovely Webmentions. There's a quite a number of steps to get Webmentions working but the benefits make it worth it. If you like this post lets us know by liking it on Twitter, and stay tuned for more Vue and Gridsome content coming your way!